AD- This is an advertise in collaboration with Photowall Sweden with a free product. All opinions are our own.
One of my favorite things is new decor pieces. I get so excited to add a new piece to my home.
Homemaking and keeping a tidy cute home is something I strive for and I have been slowly remodeling and freshening our spaces so when @photowall_sweden reached out to me about their products I was so excited!
I picked up this new beautiful hallway table that I am in love with and I was searching for a great piece that would go along the back of it.
Photowall has so many unique pieces and canvas photo’s are defiantly one of my favorite things to decorate with.
I picked this unique world map that I think the colors went perfect with everything. It wasn’t too bright or too dull and it went so well with this space.
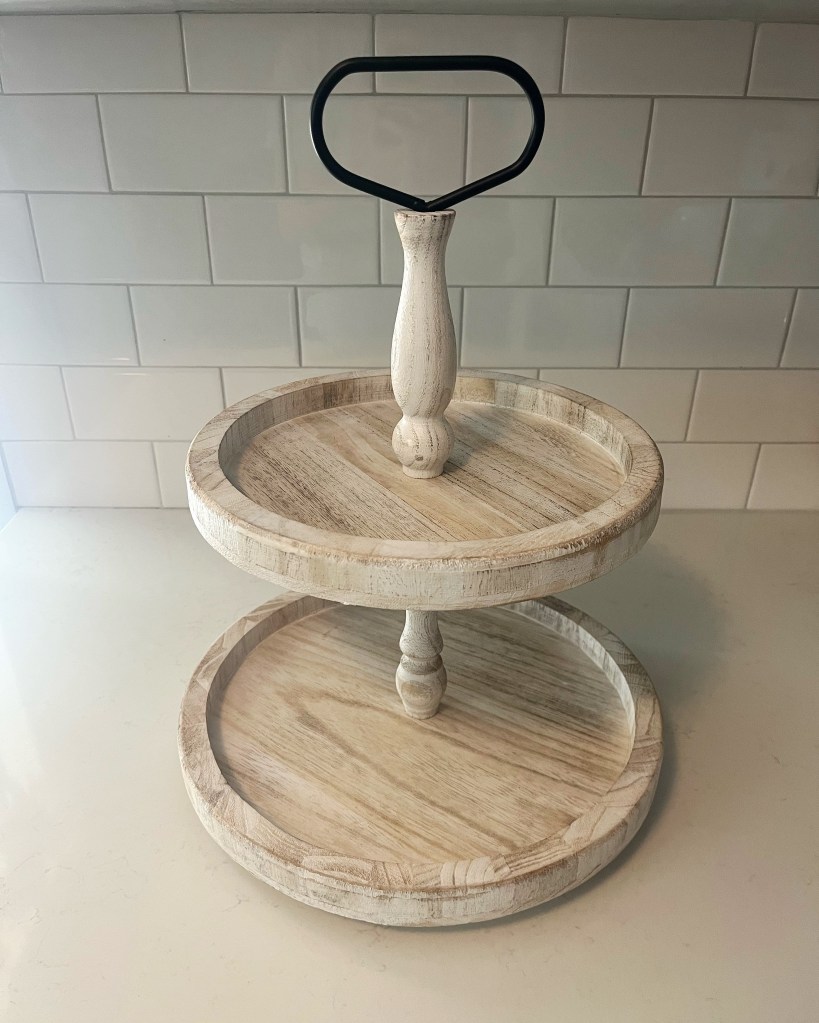
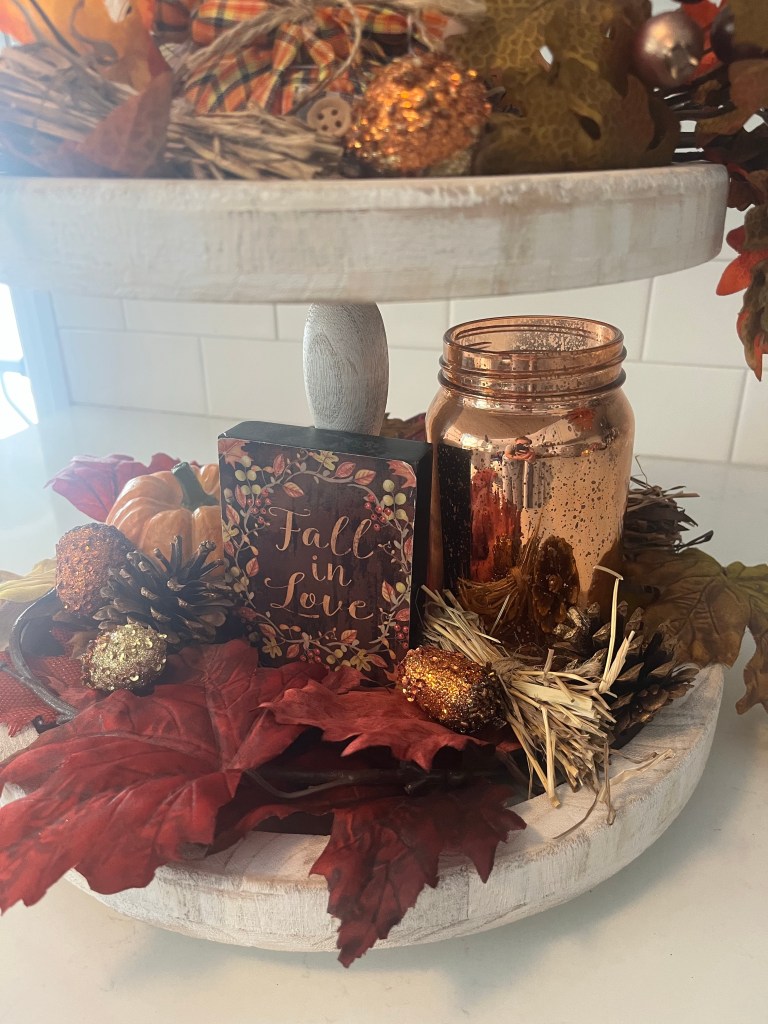
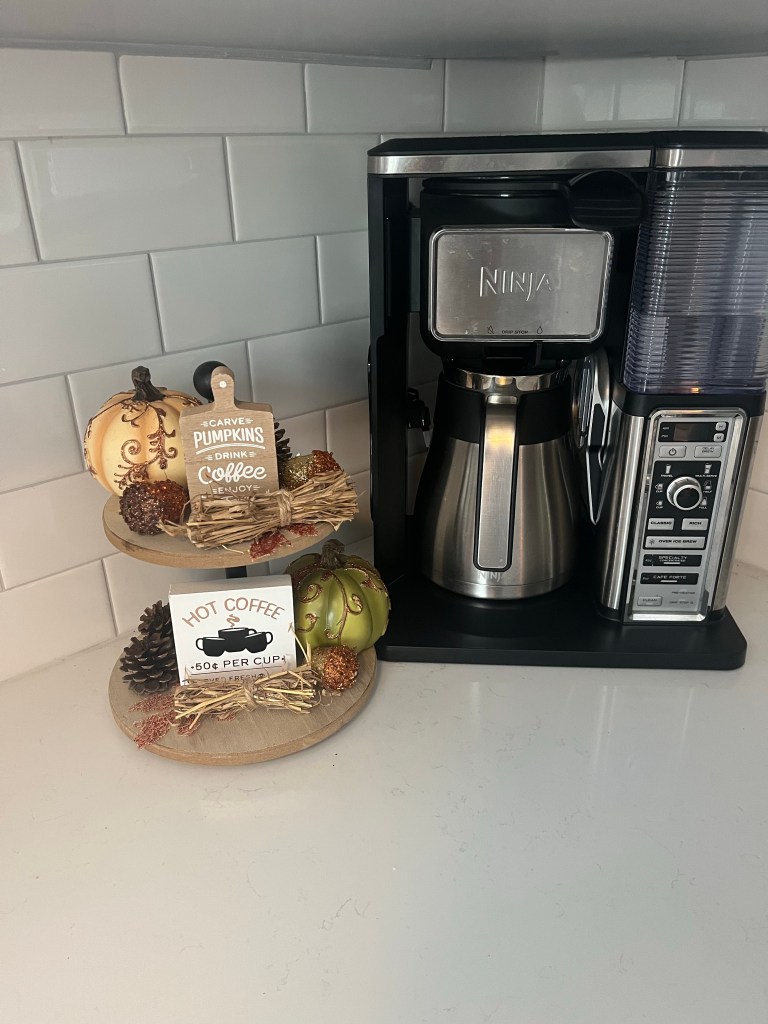
I even have enough room for all my fall touches now that we are getting into the Holiday seasons.
It shipped quickly and came packaged very nicely.
You do have to assemble the mounting yourself but they have a very easy video tutorial to help you with each step.
I am not handy and I was surprised how easy it was to follow.
I love how everything turned out and I definitely want to purchase more from them!
Plus who else is so excited for seasonal decor!?
Stop back soon for a Fall home tour!
Be sure to check out Photowall and all they have to offer.
They have given us an awesome code of 25% off their site! Use code quirkyworkinmoms25
Living in a renovation is not fun, even if it is just our kitchen. You have so many things scattered everywhere and I like order so it’s super hard for me!
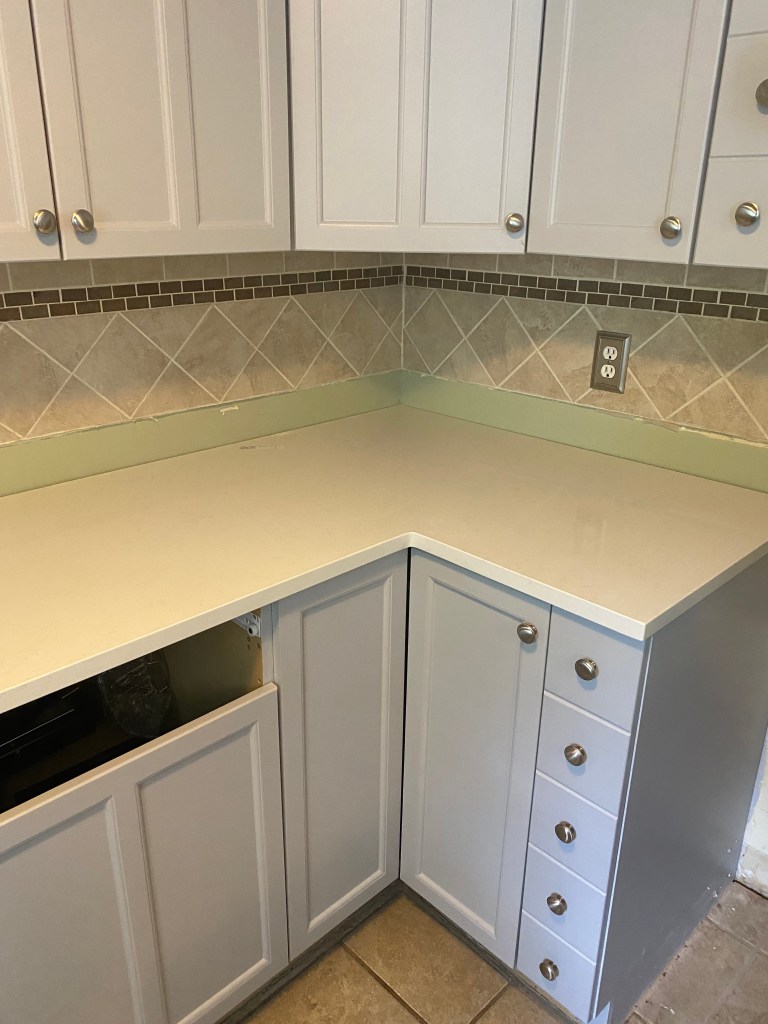
Everything is coming together so beautifully though and I can’t wait to show you. First that went in were the countertops and new sink. We chose quartz countertops because they were honestly the only ones that went with the look I was trying to go for.
Bonus though? SOOO easy to clean! Holy cow are they easy to clean. I am still trying to find a cleaner that doesn’t leave streaks though so if you know of one, please let me know in the comments! It’s number 1 on my list to buy so I would appreciate it.
It’s hard to tell in the pictures but they have a gray detail going all across the countertops to tie in the cabinets and I love it. Looks so good.
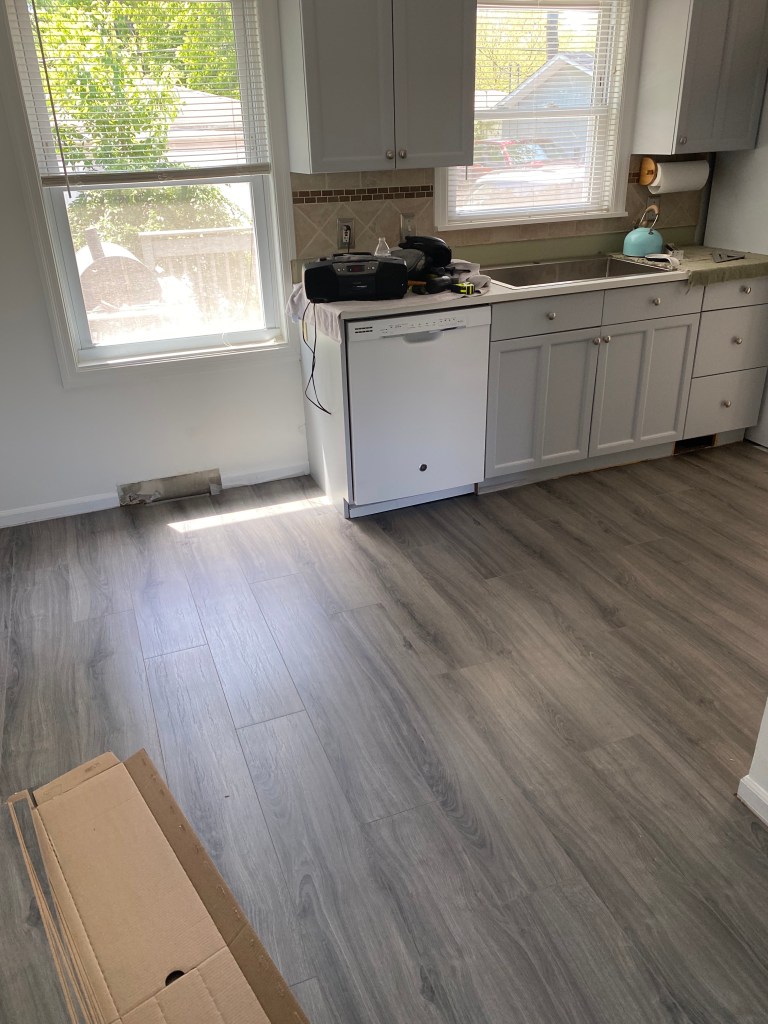
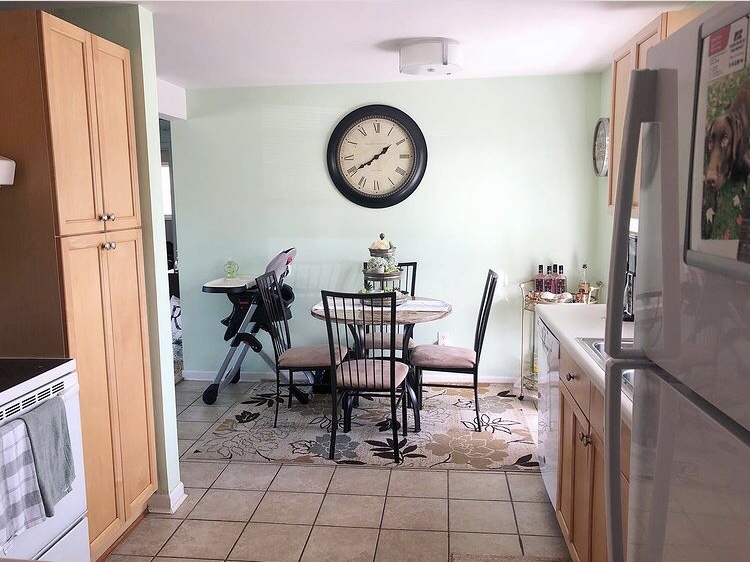
Once the countertops and sink were in, our flooring ended up going in next since the backsplash was the easiest to get done.
I am OBSESSED with our floors. I can’t wait until we can get them all throughout the living room because I just love them. They are sturdy and look stunning. We went with a hardwood vinyl type of flooring and you honestly couldn’t even tell the difference.
I love the contrast of the dark to light. The dark floors with the light walls and cabinets and counter area, it went really good together so I am glad we chose a darker color.
We are so close to the finish line and I can’t wait to share with you all the final project all done and looking fabulous!
Thanks for staying on this journey with me, be sure to check out the previous links to see what everything looked like before.
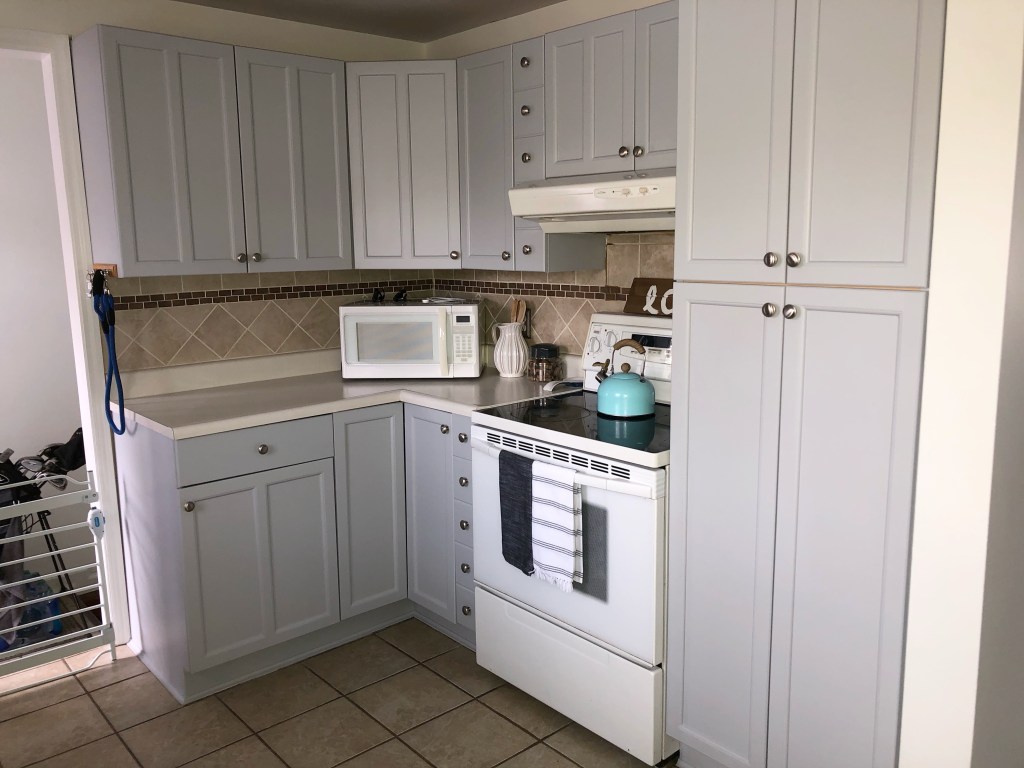
What a difference paint makes you guys! So crazy how open it can make a smaller kitchen look.
If you haven’t noticed we have been absent on here for a couple weeks!
Life has been so busy with renovations around our house and then Marissa’s girls are starting sports. A break was much needed but we are excited to be back and to bring on all the content!
Any-who, back to kitchen updates. If you haven’t read my Kitchen Remodel Inspiration post make sure you do because I am pretty sure I nailed it on the cabinet colors!
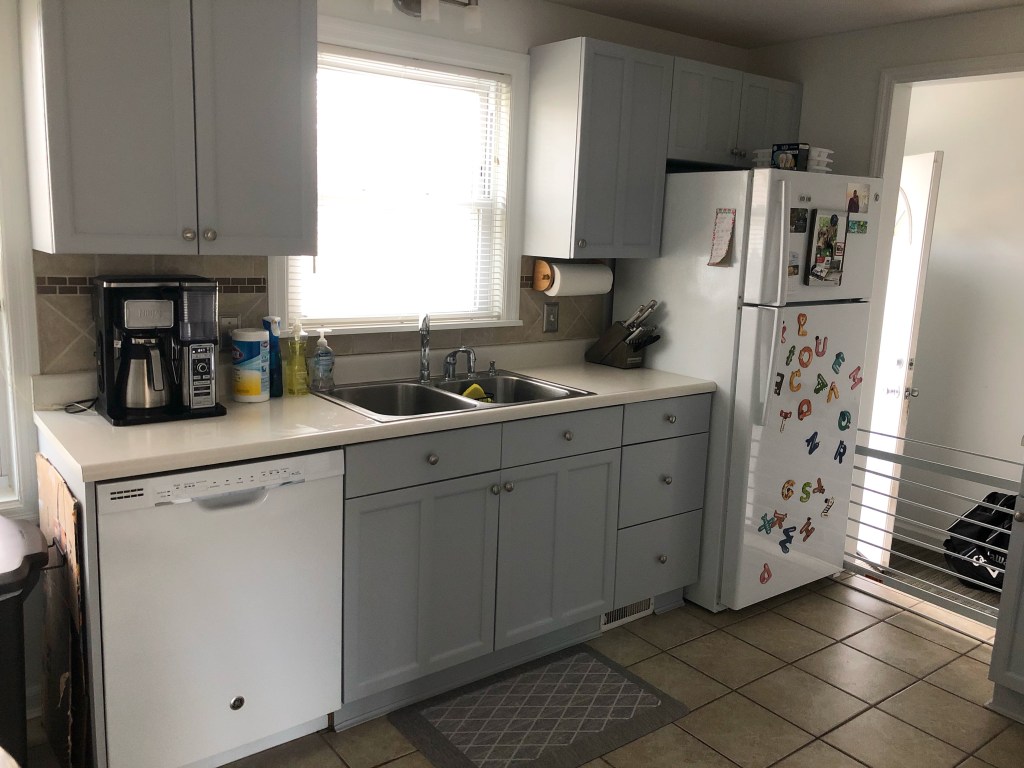
So we went with a gray finish for the cabinets and then white walls and a gray accent wall.
The painters did such a great job and I am so excited to see everything come together!
Here’s some before and afters for you all
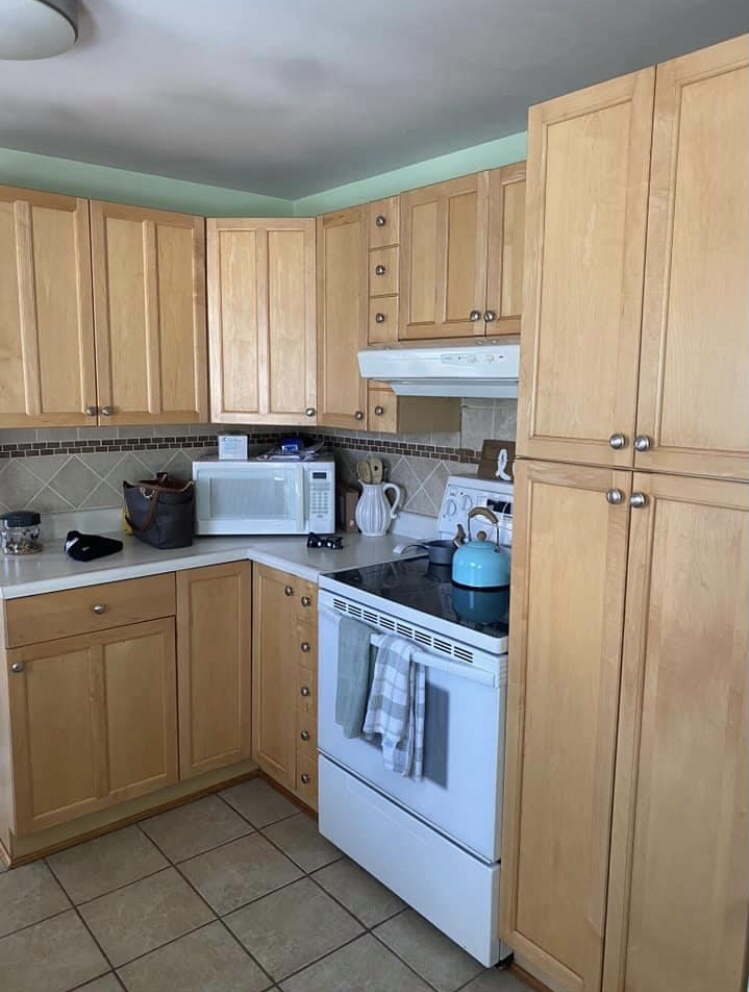
Those are the before pictures, our house was a lot of tans and warm colors for the kitchen and back entry way but here is what it looks like after the paint!
What do you guys think!? Such a transformation already right?
We have the counter tops ordered but those take about 4-5 weeks so in between waiting for that our flooring will be installed.
Next post it will look completely different again I’m sure and I am so excited about it!!
I can’t even tell you all how excited I am to FINALLY remodel our kitchen!
It’s been a dream since we moved in about 5 years ago. Like everyone else this year I’m sure, we fought with the idea of selling our home or making it into what we want for a few more years.
I don’t know if it’s the “first home” attachment or if it was because I couldn’t find anything else I for sure wanted out there or a little of both but we decided to stay.
And with staying comes…renovations!!
I’m excited but a little scared because we’ve never done renovations before besides our basement but that was just flooring.
I decided I would take you all along with me in the renovation journey which this year will include our kitchen and entry way and then flooring in the living room.
Kitchen is up first and the biggest task by far so here is a peek into what we are working with and the inspiration for the renovations.
So mainly we will be updating countertops and backsplash. Only painting cabinets because I LOVE my cabinets and getting new hardware for them, and then getting new flooring.
A big task ya’ll! But here’s our inspiration for the finished look.
Subway tile backsplash Farmhouse sink hopefullyGray cabinet color Hardwood flooring and a light countertop
Anyone else have a dream of a farmhouse sink!? I hope one can fit for us!
My hubby is so excited about a subway tile backsplash, he loves it.
So excited to take you along with this renovation journey. Plus, I will be showing any DIY’s that happen of course.
I know anything to make life a little more simple and easy as a mom is a must so definitely will be sharing any tips and tricks.
We are in the process of getting estimates and picking exactly what we want right now so stay tuned my friends!
We have lived in our house for 7 years now. What?! Little by little I’ve redone a part of the house.
Over our “quarantine”, we did a mini kitchen renovation!
BEFORE
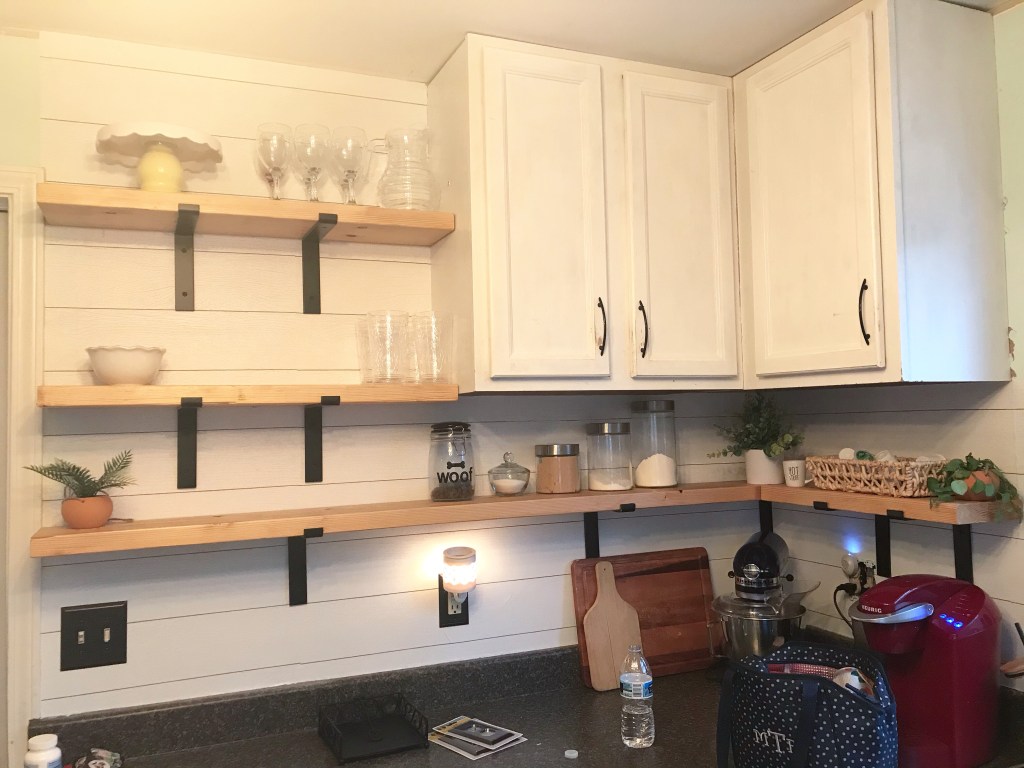
I have always loved the look of open shelving, but I always wondered where I’d put everything? Don’t worry, a little purge helped, and we have PLENTY of room!
Our kitchen is so small, but it serves its purpose.
First I took off the cabinets. I knew I wanted the cabinets higher to accommodate a shelf under them, so we removed one cabinet, for the open shelves, and made the other one touch the ceiling.
Then I ship lap’d the walls. Calling all Joanna Gaines lovers! She is so inspirational in her simple farmhouse decor, I couldn’t resist!
Then came the shelves…. my husband is a genius. He made sure they were all secure but also supported my vision.
He measured and cut the boards. We used 2×8’s for the shelves. I needed them to be sturdy to hold my heavy plates & cups. I bought brackets from Home Depot to hold up the shelves.
I stained them the natural color because I wanted it to be light and airy in the kitchen. Before it was so dark!
AFTER
Trying to decide on a light fixture was the hardest part. I had probably spent an hour between Lowe’s and Home Depot looking for the PERFECT light. It had to be bright, but also follow my “theme”.
Over all I’m so happy with the outcome.
I am currently remodeling the rest of the house. We know we eventually want to find a home a little farther out, but that’s pretty distant into the future, so now our little house is becoming our home!
I will keep posting my DIYs as I do them! Thanks for reading! 💕
Howdy, y’all! I reckon I’m ‘bout to show you my chicken farm!
Hahah, just kidding! I’m having too much fun with my chickens, sometimes I wish I had my own farm.
Fun fact: when I was growing up, my grandpa and great grandpa had a Hereford Farm. I actually showed steers at the 4-H Fair growing up! That was an experience on it’s own. It’s definitely something I wish my kids would be able to participate in if they wanted too.
Anyways, my chickens are now officially HOME! They enjoy their little house so much. It’s not 100% complete, as we are still deciding what we’d like to cover the coop in, and we have to paint it, but other then those cosmetic details it’s DONE!
Have I said on here that my husband is a genius, yet?! I kept showing him all these elaborate, chicken palaces, that were quite expensive, and he just would smile and nod. He knew that no matter what prefab coop I bought, in the end I wouldn’t truly be happy. He asked me what I’d want out of a coop, and he made it happen.
The first thing I wanted was a run that I could walk into to interact with my girls! He made it 8’ tall in the front, and 6’ tall in the back, so no matter where I go, I won’t be bumping my head!
I also wanted a door on the coop, so I would have easy access to the eggs when it’s time for them to start laying. Also, it will make cleaning A LOT easier!
Last thing that was a must was the slanted roof! It is eventually going to have a gutter system that will collect rain water for the birds! It’ll really help so I don’t have to drag the hose over every time I need to give them more water!
The process was actually quite simple. We started out buying just 20 2×4’s, four sheets of plywood, four metal roof panels, and chicken wire. All and all this cost around $250, and honestly is WAY better and more sturdy then any of the prefab models I saw online.
We started out with the bottom frame. We wanted as little waste as possible. The 2×4’s we got were 8’ long, so that’s what the bottom is, 8×8. Then we just worked our way up. With the slanted roof we cut down the back posts to 6’! Don’t worry, those 2’ we cut off, were definitely used!
After we had it all framed out, we started working on the actual “barn” part of the coop/run. Cody thought it was a good idea to raise it up, allowing the girls to have a spot under the coop to lay and get out of the sun! We used the two 2’ pieces we cut off and made a nice base for the coop, and then we enclosed it. This is where the nesting boxes will be. A nice quiet place to lay eggs!
Then we added the chicken wire! ALL THE CHICKEN WIRE! I think this was the worst part! It was just tricky making sure it was all straight. The staple gun broke mid way through, so I had to make ANOTHER Lowe’s trip!
The final step was predator proofing the coop! We couldn’t waste all our hard work on our ladies, to have them eaten by a critter. Now, we don’t live in a rural area, but we aren’t in the middle of a city either. We have raccoons and opossums for sure and they will kill the chickens if they get to them, so to combat that, we dug a “trench” a foot wide, and just a few inches deep, and we buried chicken wire. That way critters can’t try and dig under the fence!
We have to add a few finishing touches, and we definitely have to paint, but all in all, I think it turned out great! It was a lot of work, but I love it! That is truly all that matters, right?!
I love doing DIY’s, and you will probably read a lot about my little home projects! Thanks for reading, and I’ll see you next Thursday! (: